


Delphinium Cobalt Blue
I haven’t written anything in a couple of years now but this week I am feeling inspired.
What has sparked this renaissance in all things garden? Well, I am not sure to be honest. The last 2 years, for me, like everyone else have been filled with concerns about Covid, the war in the Ukraine, the cost-of-living crisis and of course, climate change.
I think of all the above it is climate change that has made me realise that we must cherish our gardens and how we interact with them. The global news is so sad and shocking, yet it brings a realisation that time may be running out. It is October the 2nd today and I have been cutting down Gorse plants from our fields, a thankless task to be honest, as they just keep growing back!. It is 26 degrees Celsius today and in honesty, we should be thinking about putting the garden to bed, but the garden has other ideas.
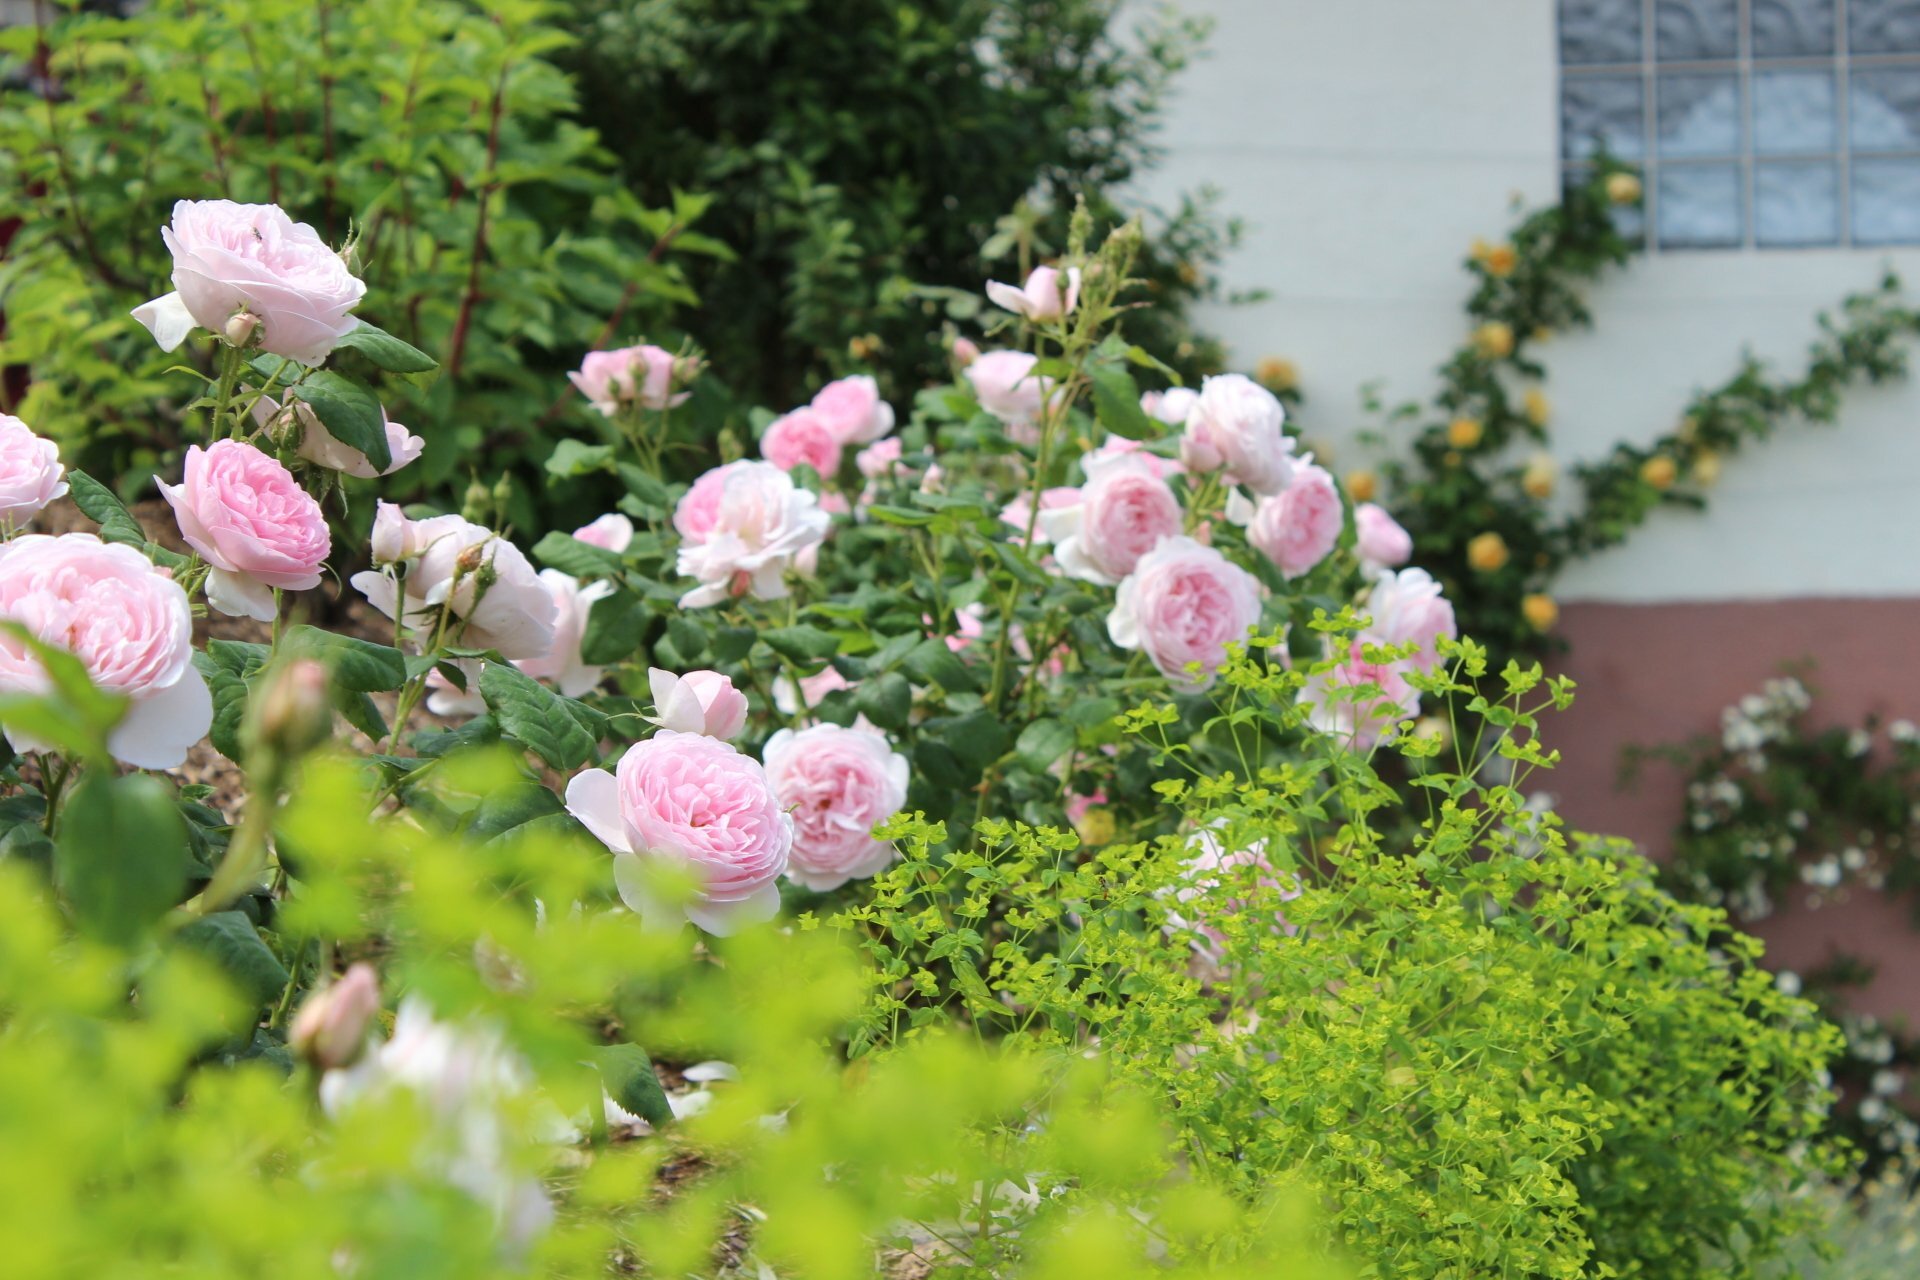
Our roses are flowering again, our one-time flowering rambling roses are flowering for the second time this year and so are our Cherry trees. This is a result of messed up seasons, August here was wet and cold and now it is hot, and the garden thinks that it is Spring. I am taking advantage of this unseasonal barmy weather and growing seedlings and taking cuttings. Due to not having a greenhouse, our windowsills are jam packed full of pots covered in plastic bags (they act like mini greenhouses).
What am I growing? Well, this year I rekindled my love affair with Delphiniums, they are surely the king of plants. Delphiniums add a touch of class to any garden. They come in an array of stunning colours and are adored by bees of many varieties. I once (many years ago) found a man standing outside my garden gate in Herefordshire in England and enquired as to how I may help him. He replied, keep growing delphiniums, he explained that he was a beekeeper and that he had been perplexed by the lack of bees in his garden. He went on to explain that he decided to follow his bees, (to this day I am unsure how one would go about this, but I digress), anyway this had led him to my garden gate and his bees. If that is not a good reason to grow delphiniums, then I do not know what is.
I decided last year that what my life was missing was delphiniums, so I ordered some seeds from England, there is a fantastic breeder in Lincoln, the Larkspur Nursery www.larkspur-nursery.co.uk. Please be aware that they cannot ship to Europe but if you are in the UK, they are brilliant. For those of you living outside of the UK, I would recommend Dowdeswell Delphiniums www.delphinium.co.nz. Another great organisation in the UK is the Delphinium Society www.delphinium-society.co.uk, I would recommend joining (£15 a year and you get loads of fun stuff, plus tips, advice, and access to their seed catalog in the early part of the year.
When my seeds arrived, I got straight to work. Delphiniums can be tricky blighters and are prone to damping off (this is where the seedlings get fungal infections and die), so here is my method.
Order your seeds and wait patiently for them to arrive.
Buy seed compost, vermiculite, and plastic bin bags.
Fill your pots so that they are about 3\4 full, press the soil down with the base of the next pot (not too firmly) and water using a small watering can with a fine rose.
When the water has been absorbed by the soil, empty the contents of the first seed packet into your cupped left hand and with dry fingers (right hand) place the seeds evenly on the soil.
Cover with a layer of vermiculite or perlite and water again, until the vermiculite is moist but don’t drown the pot.
Cover with a plastic bag, the bottom of the bag should be over the top of the pot and tuck the open end of the bag under the pot. This acts like a mini greenhouse and keeps the humidity high and the temperature consistent.
Delphinium seeds need a temperature of between 17-21 Celsius to germinate and should germinate in 2-3 weeks. Check moisture levels once a week, don’t be tempted to check every day as the moisture will escape and the temperature will drop.
Once the seeds have germinated remove the plastic bag, the condensation on the inside of the bag may cause damping off, it was there to provide the ideal environment for germination and that job is now complete. Wait until the seedlings have produced two sets of true leaves and then prick them out and transplant into individual pots. Remember, the first set of leaves are seed leaves, after which the seedlings produce proper leaves typical to the plant.
What you will need: Seed compost, pots, vermiculite, transparent plastic bags, labels, and a waterproof marker pen.

First, fill a pot three-fourths full of seed compost.

Then use the second cost to firm the soil down, do not press too hard, as you do not want to contact the soil. You want a loose soil structure so that the seedling roots can grow into the soil.

Then use the second cost to firm the soil down, do not press too hard, as you do not want to contact the soil. You want a loose soil structure so that the seedling roots can grow into the soil.

Using dry fingers (seeds stick to wet hands) sprinkle the seeds evenly on the soil and then cover with a thin layer of vermiculate and water lightly. Remember to write a label so that you know what you have sown, place the label in the soil at the edge of the pot.

Cover the pot with the plastic bag, the bottom of the bag should cover the top of the pot with the open ends neatly tucked underneath the pot. Place on a plate on a windowsill.

When the seeds germinate, they produce their first set of leaves, these are referred to as seed leaves. Their job is to synthesise light and produce energy so that the seedlings can produce a true set of leaves. Once the seedlings have produced two sets of true leaves they should be pricked out and transplanted into individual pots. Please note that the pots should not be too big, you will need to repot them again as the seedlings grow on and their root systems fill the pot.
Pricking out seedlings can be a daunting task if you have never done it before, but it doesn’t need to be. I use a pencil to tease the seedlings and their roots apart, being careful to only hold the leaves and not the stems. The reason that I mention this is that if you damage a leaf the seedling can produce new leaves but if you break the stem the seedling will die. It is inevitable that you will damage some seedlings, but this happens to everyone.
Hardening off plants. You should grow your young plants on, this can be done in a cooler location than the windowsill where they germinated but the young plants should not be exposed to cold temperatures or frost, the shock will kill them. When the plants are of an appropriate size, you should harden them off. This entails putting them outside for a brief period and then daily increasing the time until the plants are accustomed to the colder temperature, after which they can be left outside permanently. If it is not too late in the year, you can even put them in a cold frame.
It is quite normal for young plants to sulk for 6 weeks or so after they have been transplanted but don’t worry about this, if they still have green leaves they will survive.
When you transplant them up use ordinary compost, seed compost contains hardly any nutrients and is a special medium formulated to help seeds germinate. Standard compost contains enough feed to last about 6 weeks, after which I give them a weekly feed of tomato fertiliser. They should grow on well but if the leaves look a little yellow, it is an indication that you have overfed them. If this happens stop feeding and just give them water and they will be fine.
It is recommended that you cut off the flower stem in the first year so that all the energy goes into developing a healthy, good-sized crown but I will admit to never being able to do this as I must see the flower colour. It is, however, your choice!
Plant care. Delphiniums tend to live for 3 years and are a favourite of slugs. Once the temperature is above 6 degrees Celsius, they start producing new growth, protect them as your conscience dictates! Delphiniums need plenty of water and feed and should ideally be planted a metre apart. Plants should be supported due to their height, either place a support with a grid structure that the plants can grow through (do this early in the season, as trying to fit this when they are grown will only result in broken stems) or support each plant with four canes, to which you tie string which is wrapped around the plant. Never tie an individual stem to a cane as it will snap off it the wind. Once the flower is finished you can cut it down to six inches from the ground, give it a good feed and it will produce a second flowering in September.
Propagation. You have two options here; you can collect the seeds by not cutting off the flower spike after flowering, but the seedlings may not be true to the parent plant due to cross-pollination, or you can take basal root cuttings from mature plants.
Taking basal root cuttings is a straightforward process but should only be done in the second and third years. If you cut a delphinium stem you will discover that it is hollow. You will not be able to grow a plant from the hollow stem cutting. To take successful cutting you need a shoot with a section of the crown attached. In the Spring, when the plant produces multiple stems from the base, simply take a sharp knife and cut down below the soil between the centre stem and the outer shoot. What you want here is a young stem with a bit of solid root material attached. If you are taking a few cuttings, I recommend filling a jam jar with water and placing the cuttings in the jar to prevent them from drying out. When you have all your cuttings, fill a pot or two with a 50/50 mix of compost and vermiculite, remove excess leaves to reduce water evaporation, plant the cuttings around the edge of the pot, water well and cover the pot with a transparent plastic bag. The cutting should produce roots and new growth within a couple of weeks. They can be potted on, when you can see roots coming out of the drainage holes at the bottom of the pot. You can take basal root cuttings in late Summer and early Autumn, but Spring is the ideal time when plants are in active growth.
Here are some of the delphiniums that we grew from seed this year.


For a guaranteed colour it is best to choose seeds from a named variety from either Larkspur Nursery or from Dowdeswell Delphiniums. It also helps to ensure that varieties are not lost. You will not find these varieties at most garden centres, but we will be offering them for sale from home grown plants at the Moosbach Garden. Stocks are limited, so it is best to order in advance. To enquire about reserving your plants please send an email to info@moosbach.garden
On a final note, many people are concerned about diseases, such as powdery mildew but if you keep your plants well-watered and do not allow them to dry out, they should remain healthy. Healthy plants are less prone to fungal infections.


Share
Please share your thoughts
Subscribe to Blog

-
![David Austin Rose im 6 L Topf.]()
David Austin Rose im 6 L Topf.
SKU 90029€32.50Jetzt kaufen -
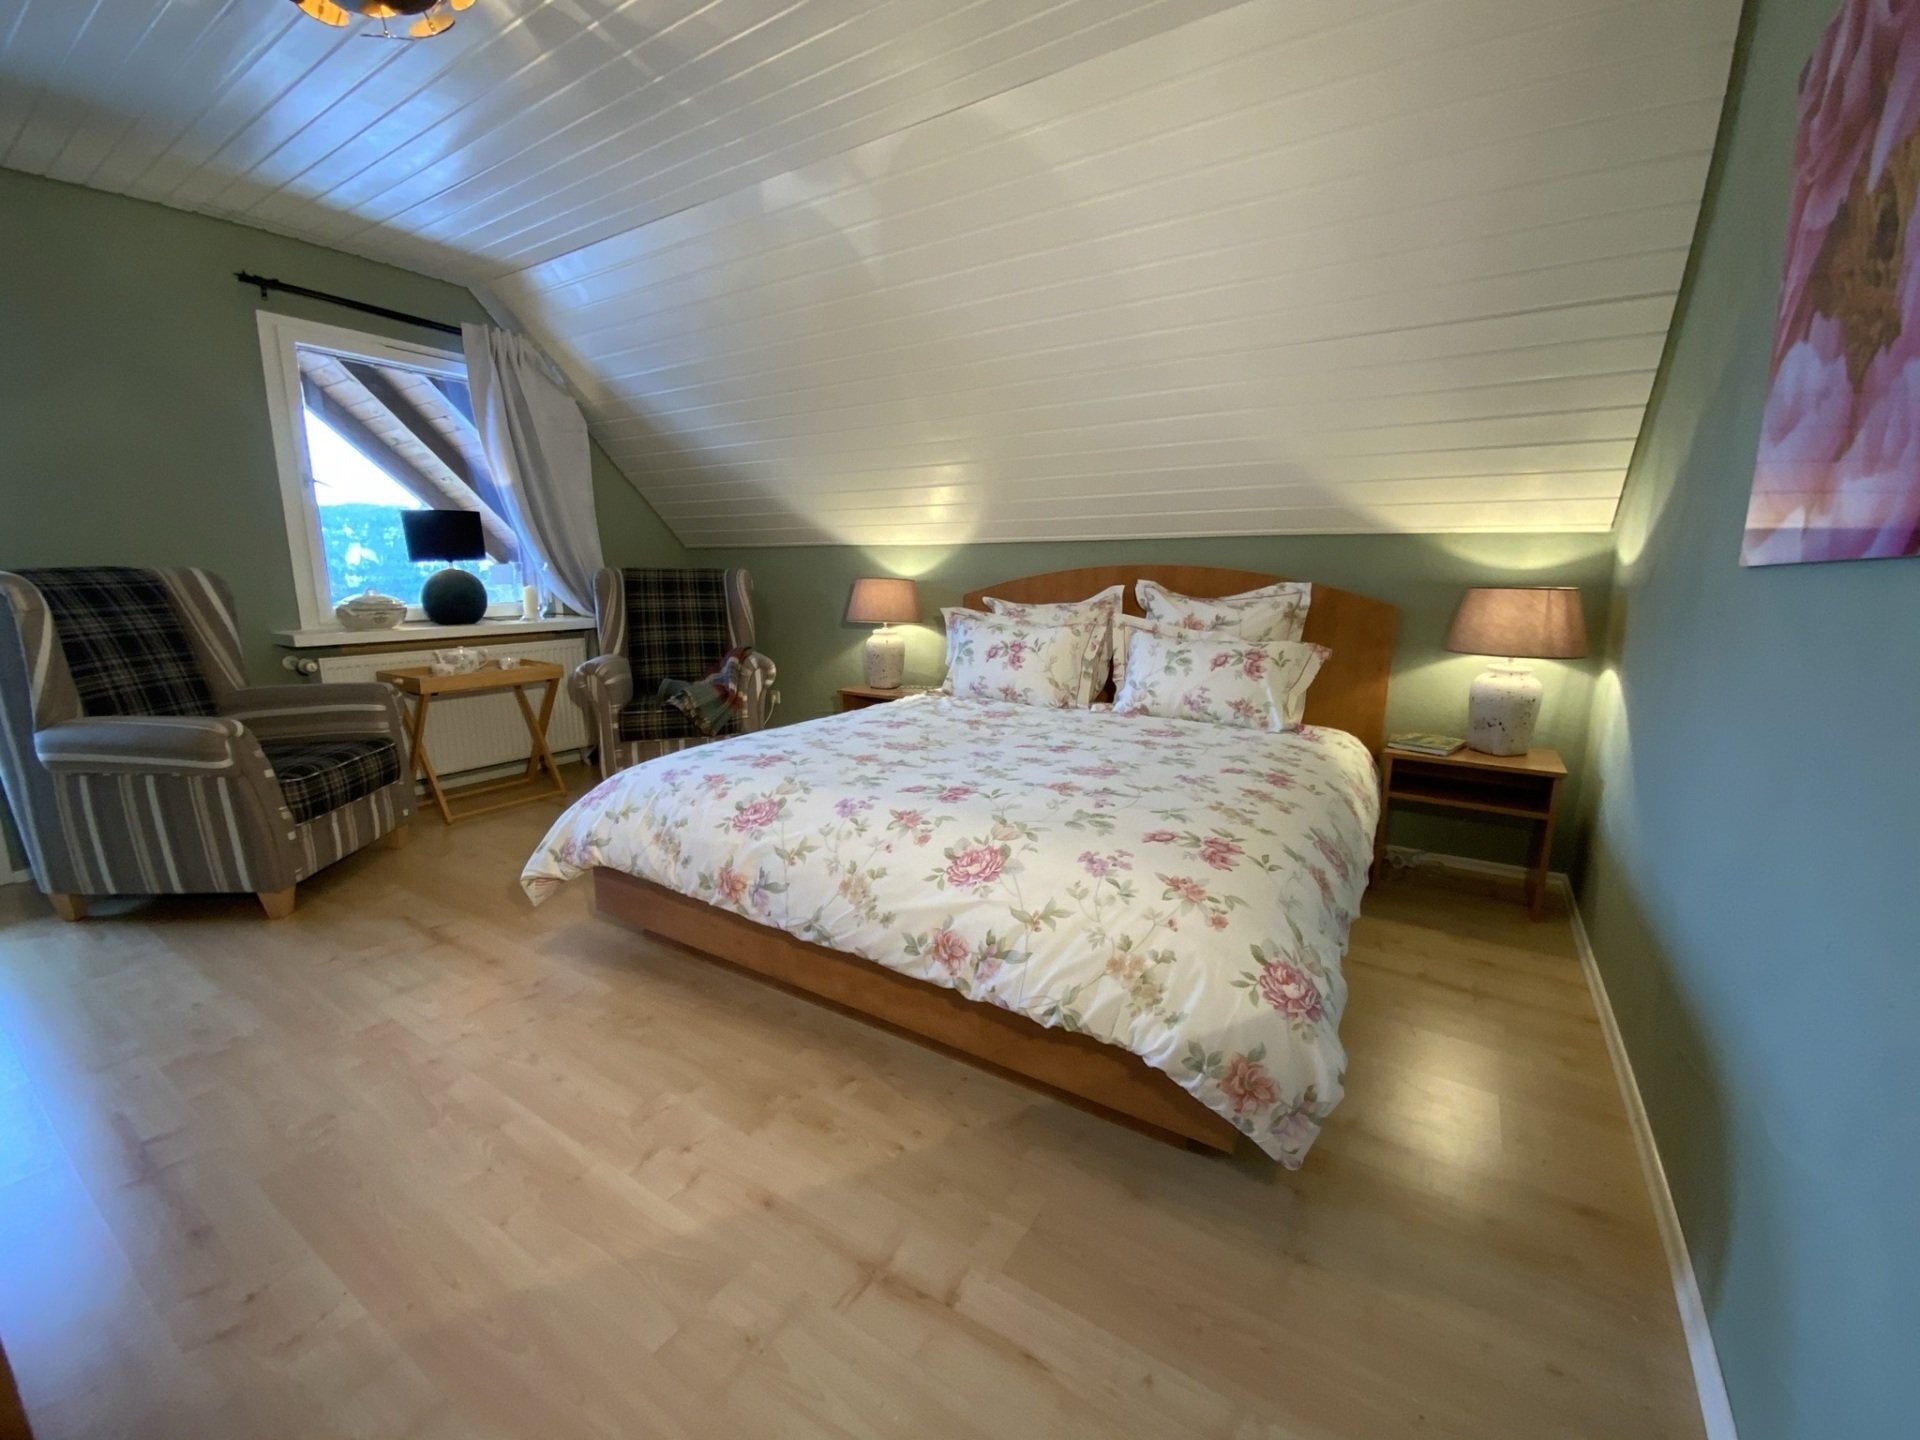
![Residieren & Dinieren (Übernachtung - HP) 2 Personen]()
![Residieren & Dinieren (Übernachtung - HP) 2 Personen]()
Residieren & Dinieren (Übernachtung - HP) 2 Personen
SKU 5008€265.00Jetzt kaufen -
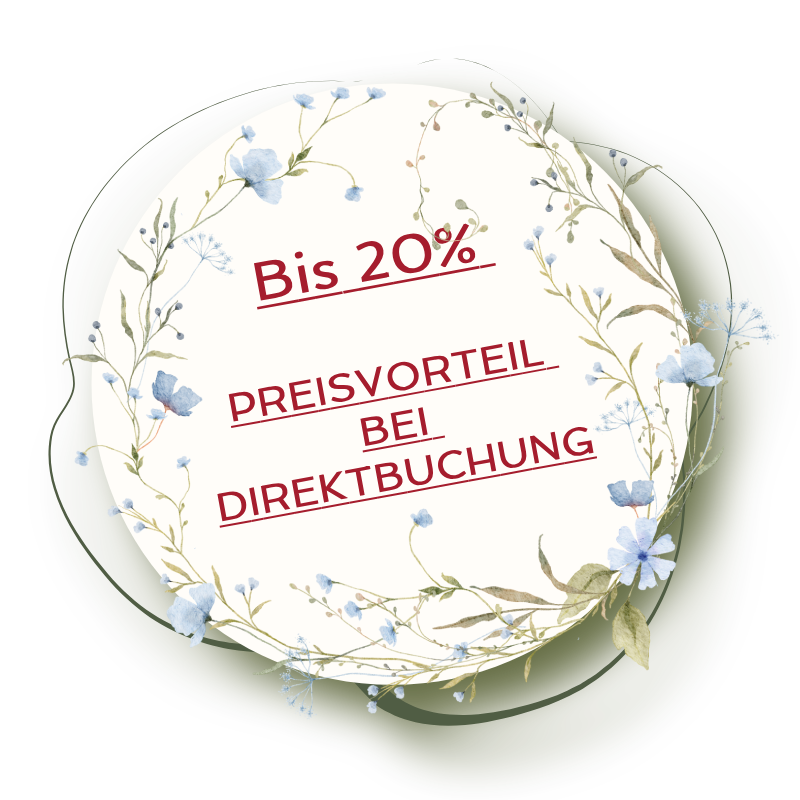
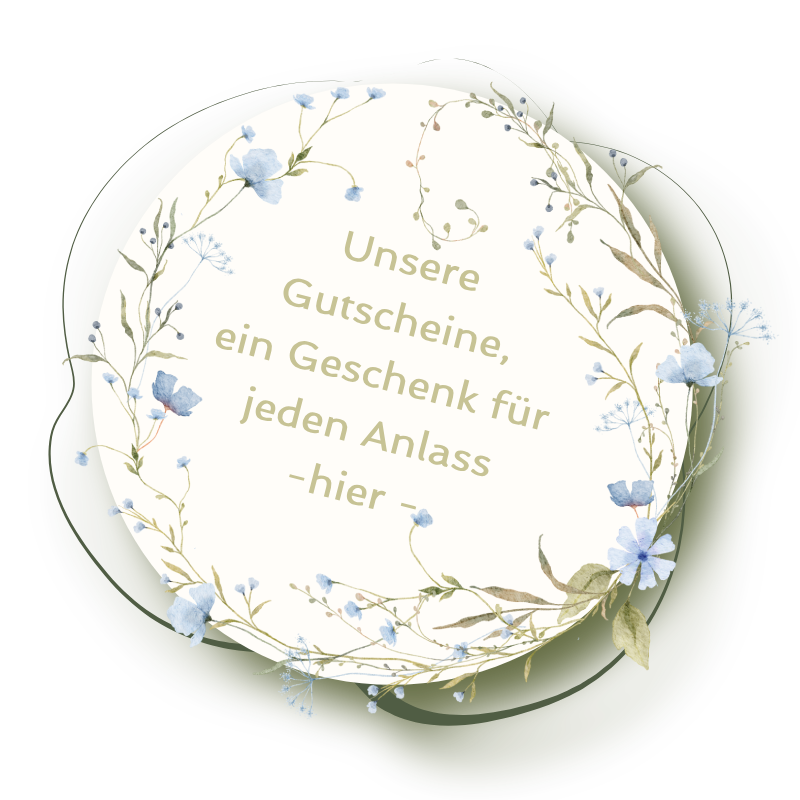
![Geschenk Wertkarten - Einlösbar im Onlineshop Wert ab]()
Geschenk Wertkarten - Einlösbar im Onlineshop Wert ab
SKU 00003€10.00Jetzt kaufen -
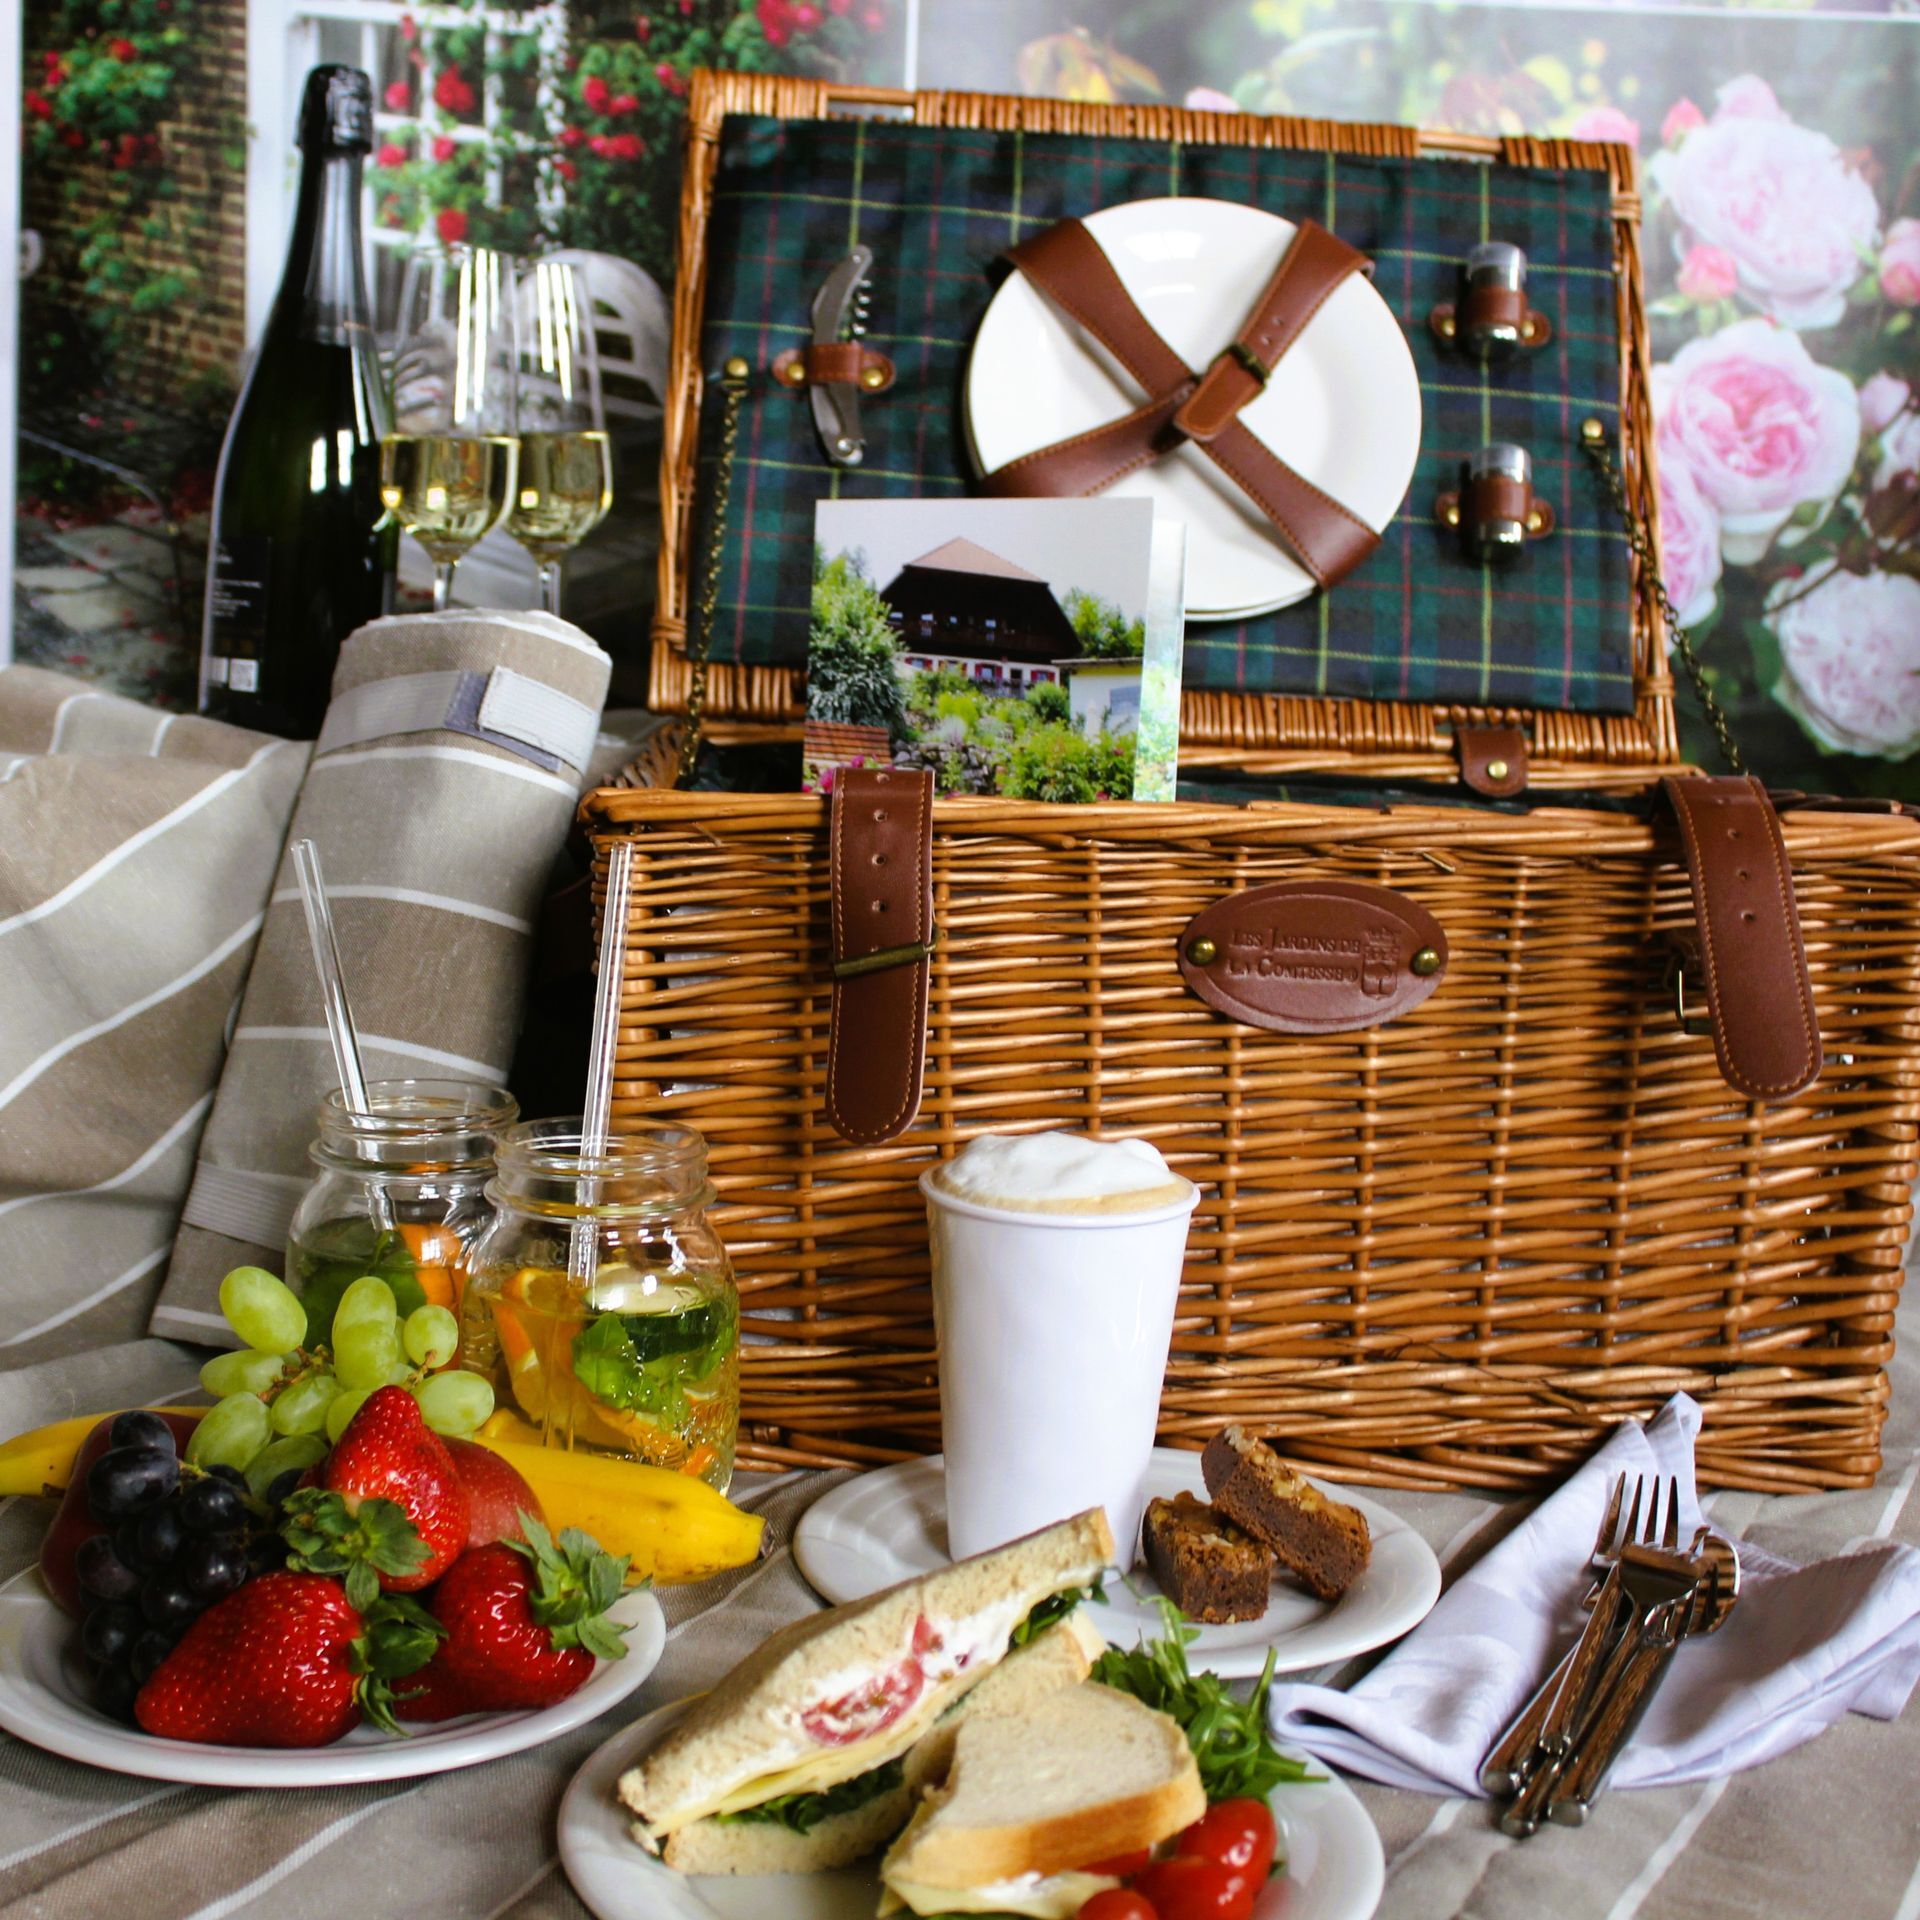
![Picknick für 2 Personen zum Verschenken]()
![Picknick für 2 Personen zum Verschenken]()
Picknick für 2 Personen zum Verschenken
SKU 90031€72.00Jetzt kaufen -
![Picknick für 1 Person zum Verschenken]()
![Picknick für 1 Person zum Verschenken]()
Picknick für 1 Person zum Verschenken
SKU 90053€36.00Jetzt kaufen -
![Picknick für 2 Person zum Verschenken mit einer rose im 6l Topf nach Wahl]()
![Picknick für 2 Person zum Verschenken mit einer rose im 6l Topf nach Wahl]()
Picknick für 2 Person zum Verschenken mit einer rose im 6l Topf nach Wahl
SKU 90054€100.00Jetzt kaufen -
![David Austin Rose im 6 l Topf + Versand in D.]()
David Austin Rose im 6 l Topf + Versand in D.
SKU 90030€39.50Jetzt kaufen


DAVID AUSTIN ROSES - ABENDESSEN - FRÜHSTÜCK - Gayhotel - pension - kurzurlaub - wochenende
